Showing posts with label condiment. Show all posts

Sandra’s Homemade Salsa Verde

Excellent as a dip with tortilla chips,
with tacos, enchiladas, or over eggs for breakfast, etc...

Yield: 2 ½ cups salsa

Ingredients

1 ½ pounds tomatillos (about 12 medium), husked and rinsed
1 to 2 medium jalapeños, stemmed, (depending on your desired spiciness)
½ cup chopped white onion
¼ cup packed fresh cilantro leaves
1 to 2 medium limes, juiced, to taste
½ to 1 teaspoon salt, to taste

Optional: 1 to 2 diced avocados, for creamy avocado salsa verde

Method

Preheat the broiler with a rack about 4 inches below the heat source.

Place the tomatillos and jalapeño(s) on a rimmed baking sheet and broil until they’re blackened in spots, about 5 minutes.

Remove the baking sheet from the oven, carefully flip over the tomatillos and pepper(s) with tongs and broil for 4 to 6 more minutes, until the tomatillos are splotchy-black and blistered.

Meanwhile, in a food processor or blender, combine the chopped onion, cilantro, 2 tablespoons lime juice and ½ teaspoon salt. Once the tomatillos are out of the oven, carefully transfer the hot tomatillos, pepper(s) and all of their juices into the food processor or blender.

Pulse until the mixture is mostly smooth and no big chunks of tomatillo remain, scraping down the sides as necessary. Season to taste with additional lime juice and salt, if desired.

The salsa will be thinner at first, but will thicken up after a few hours in the refrigerator, due to the naturally occurring pectin in the tomatillos.

Optional: If you’d like to make creamy avocado salsa verde, let the salsa cool down before blending in 1 to 2 diced avocados.

SANDRA'S REFRIGERATED PICKLED RED ONIONS

It's terrific how these pickled red onions become so crispy
while being refrigerated in this flavorful brine
giving you a delicious sweet-spice vib...


Yield: (6) 1/2-Pint Size Mason Jars, or (3) Pint-Size
Prep: 15 Mins.
Cook Brine: 30 Mins.
Refrigerate: Min. of 3 days, or up to 1 month

INGREDIENTS:

Brine:
(*Note: I prepare pots of brine about 6 hours beforehand to ensure it has sufficient time to cool so it's ready when I began the jarring process. Or, to speed up the cooling process; once the brine has cooled somewhat, carefully place entire pot in sink filled with cold water, just so water is about 1/4 the way up from outside bottom of pot.)

4 cups water
2 cups white distilled vinegar
1/4 cup pickling spice
3/4 cups white granulated sugar
1/4 cup dark brown sugar

Onions:
3 medium red onions, thinly sliced from top to core direction to 1/8"

METHOD

Add all brine ingredients to a large non-reactive pot (I use stainless steel); stir to combine. Bring brine to a boil, cover, reduce heat and let simmer for 30 minutes.

Let cool completely with lid on – Important! (See *note above.)

Strain the brine through a colander, lined with a double layer of paper towels, into a large bowl to catch the pickling spice and provide for a clear brine when jarring the red onions.

Pack sliced red onions into jars. Use a glass heatproof measuring cup to assist in pouring the brine mixture from the bowl into each jar to within 1/4" of rim.

Use a teaspoon to press the onions down into the vinegar and pop up any air bubbles in the jars. Let the pickled onions cool to room temperature for 1 hour. Refrigerate a minimum of 3 days, or up to 1 month. Always keep them chilled in the refrigerator (do not store in pantry). ~ Enjoy!

~~~~~~~~~~~~~~~~~

Tip: These pickled red onions are fabulous and incredibly delicious when added to appetizers, tacos, burritos, nachos, burgers, sandwiches, salads, etc.


SANDRA’S JALAPEÑO-LIME JAM


My vibrant Jalapeño-Lime Jam is flecked with tiny bits of peppers
that adds a jewel-like flair to appetizers.

Spread on a block of warmed cream cheese and serve with crackers,
or as stated below with Smoked Wild Alaska Salmon...
Yield: 7-9 (8 oz) half pints, depending on each size of fresh jalapeño

Prep: 20 Mins.
Process: 10 Mins.

INGREDIENTS

12 medium jalapeño peppers, with ribs and seeds, roughly chopped
1-1/2 cups cider vinegar, divided
1/2 cup bottled lime juice
6 cups granulated sugar
2 (3-oz pouches) of Liquid Pectin
1 TB cold unsalted butter
10 drops natural green food coloring
7-9 (8 oz.) sterile glass canning jars with lids and bands

METHOD

Prepare boiling water canner. Heat jars in simmering water until ready for use. Do not boil. Wash lids in warm soapy water and set bands aside.

Pulse peppers in food processor or blender with 1 cup cider vinegar until small chunks are present. Do not strain purée.

Combine purée with remaining 1/2 cup cider vinegar, 1/2 cup lime juice and sugar in a large heavy-bottom pot. Bring to a boil over high heat. Boil 10 minutes, stirring frequently.

Add 1 TB butter and 10 drops natural green food coloring; stir to combine until butter has melted (this rids the jam of foam, so no skimming is required).

Add pectin, immediately squeezing entire contents from pouches. Continue to boil hard for 1 minute, stirring constantly. Remove from heat.

Ladle hot jalapeno jam into hot jars leaving 1/4 inch head-space. Wipe rims with damp paper towel. Center lid on jar. Apply band until fit is finger-tip tight.

Place jars right side up in canner ensuring water is 1” above them. Bring to boil and begin timing processing for 10 minutes.

Remove jars and place to cool upright on a clean kitchen towel for 15 minutes.  Use a potholder to turn over for 15 minutes (so the speckles evenly distribute and don't float to the top), then turn upright to cool completely. The jars will ‘ping’ as they seal, but double check lids to ensure they’re sealed after 24 hours. Lids should not flex up and down when center is pressed. ~ Enjoy!

~~~~~~~~~~~~~~~~~

TIPS:

—Great when layering Ritz crackers with whipped cream cheese, pickled salmon, pickled onions, then top with a dollop of this jalapeno-lime jam as an appetizer.


—Preheat oven to 350 degrees. Place an uncovered 8-oz. block of Cream Cheese on a baking dish and bake for 12-15 minutes; top with jalapeno-lime jam. Serve with crackers on the side.


SANDRA'S HOMEMADE MAYONNAISE (in 5 minutes)

Making homemade mayonnaise is incredibly easy
when you use ‘key’ room temperature ingredients!

Simply follow my step-by-step instructions below...


Yield: 1 cup (1/2 pint)
Prep: 5 Mins.
Stand: 4 Hrs. at room temperature
Refrigerate: Up to 1 week
  
INGREDIENTS

1 large pasteurized egg yolk, room temperature (save egg white, see a recipe to use it below*)
½ teaspoon kosher salt
1/8 teaspoon ground white pepper
4 teaspoons white wine vinegar (unseasoned), room temperature
1 cup Mazola Oil
1/2 teaspoon freshly squeezed lemon juice, room temperature
1 Tablespoon amber agave
1/8 teaspoon dry ground mustard
1 Tablespoon boiling water

METHOD

Lay out all ingredients, according to the preparation order listed below, also ensuring egg yolk, white wine vinegar, and lemon juice are all at room temperature. Place a small saucepan of water on stove to boil.

Place the egg yolk, salt, white pepper, and vinegar into the bowl of your food processor fitted with the metal blade.

Put your oil into a 1 cup liquid measuring cup so it is easy to pour.

Remove the feed tube insert if it doesn't have a 'drizzle hole' (one of mine does, the other does not). With the processor running, slowly drizzle in the oil, starting with a few drops at a time and continuing with a very slow and steady stream. As the mayonnaise begins to thicken, continue pouring, slowly, until all of the oil has been used.

Once the mayonnaise is thick, slowly blend in the lemon juice, agave, dry mustard and boiling water, just until incorporated.

Place the mayonnaise in a covered 1/2-pint Mason jar and let stand at room temperature for 4 hours to allow the acidic chemical reaction to sufficiently take place, including preventing it from separating when refrigerated later on.

Place mayonnaise in the refrigerator and use within a week. ~ Enjoy!

~~~~~~~~~~~~~~~

Tip:
* Save egg white and use to make Sandra's Sweetly Spiced Candied Pecans shown here:


SANDRA'S QUICK HOMEMADE SAUERKRAUT with CARROTS

 Absolutely the freshest and best tasting sauerkraut,
in my humble opinion,
which is great on venison or moose Reuben grilled sandwiches
or Smoked Brat hot dogs...
Yield: (3 cups)

Prep: 5 Mins. (more time if shredding your own veggies)
Cook: 45 Mins.
Store: Refrigerated up to 2 wks

INGREDIENTS

1 (16-oz. pkg) Organic Shredded Cabbage and Carrots
--or 1/2 head of medium-size green cabbage thinly sliced into shreds and 1 shredded carrot on large holes of box grater--
1/4 cup distilled white vinegar
3/4 cup water
2 teaspoons kosher salt
1/4 teaspoon whole caraway seeds

METHOD

Add all the ingredients to a non-reactive Dutch Oven (or heavy-bottom stainless steel pot).  Stir, and bring to boil over medium-high heat. Reduce heat to low to a gentle simmer, cover, and cook for 45 minutes, while occasionally stirring.

Let sauerkraut cool completely.  Spoon into a glass quart-size wide-mouth Mason jar, cover with a plastic lid (not metal), and store up to 2 weeks in refrigerator. ~ Enjoy!


SANDRA'S HOMEMADE SWEET THAI CHILI SAUCE

A delightful sweet chili sauce I created today in under 20 minutes,
and at the rate we go through this decadent condiment ~
it's bound to be quite the '$$ saver' as well...
Yield: 1 cup

Prep: 5 Mins.
Cook: Appx. 15 minutes

INGREDIENTS

1/2 cup white vinegar
1/2 cup + 2 tablespoons granulated sugar
1/4 cup water
3 tablespoons fish sauce
2 tablespoons quality white wine
3 teaspoons garlic granules (or powder)
1/2 to 1 tablespoon dried red chili flakes (1/2 TB mild, or 3/4 TB spicy, or 1 TB hot)
--1-1/2 tablespoons cornstarch dissolved in 4 tablespoons cool water
--2 drops red all-natural organic food coloring

METHOD

Place all ingredients (except cornstarch-water slurry mixture, and food coloring) in a small, heavy-bottom saucepan. Bring to a rolling boil. Reduce heat to medium and let boil for 10 minutes to reduced sauce by half. (The vinegar odor will be quite pungent as it burns off.)

In a small bowl, combine 4 TB water with 1-1/2 TB cornstarch to form a slurry.

Reduce heat to low and add cornstarch-water slurry mixture, and the red food coloring. Stir to incorporate, then continue stirring until the sauce thickens, about 2 minutes.

Remove saucepan from heat and carefully taste-test (I do so by spooning some sauce on a plate to let cool slightly). You should first taste sweet, followed by sour, then spicy and salty hints. If sauce isn't sweet enough, add a little more sugar. If not spicy enough, add more chili flakes.

Pour finished sauce into a 1/2-pint Mason jar, cover, and store in refrigerator (will last up to 6 months).  Serve as a condiment, dip, or marinade. ~ Enjoy!

SANDRA'S TERIYAKI SAUCE (Homemade)


An easy and tasty option to make your own Teriyaki Sauce.

I always have some of this Asian sauce on hand for those last-minute stir-fry recipes
for quick meal options on those busy nights...

Prep: 5 Mins.
Yields: 1 Pint (2 Cups)

1-½ cups dark brown sugar
½ cup low-sodium soy sauce
½ cup low-sodium chicken broth
2 tablespoons hoisin sauce (An Asian-style barbecue sauce)
1-inch piece of fresh ginger, grated (or 1 teaspoon ground)
2 garlic cloves, grated
½ teaspoon freshly ground pepper

METHOD

Add all ingredients to a nonreactive (glass/ceramic) bowl, and whisk to combine. Use in your favorite teriyaki recipe or as a marinade, including basting grilled meat, poultry, fish, and shellfish.

Store in an airtight jar in refrigerator~ Enjoy!

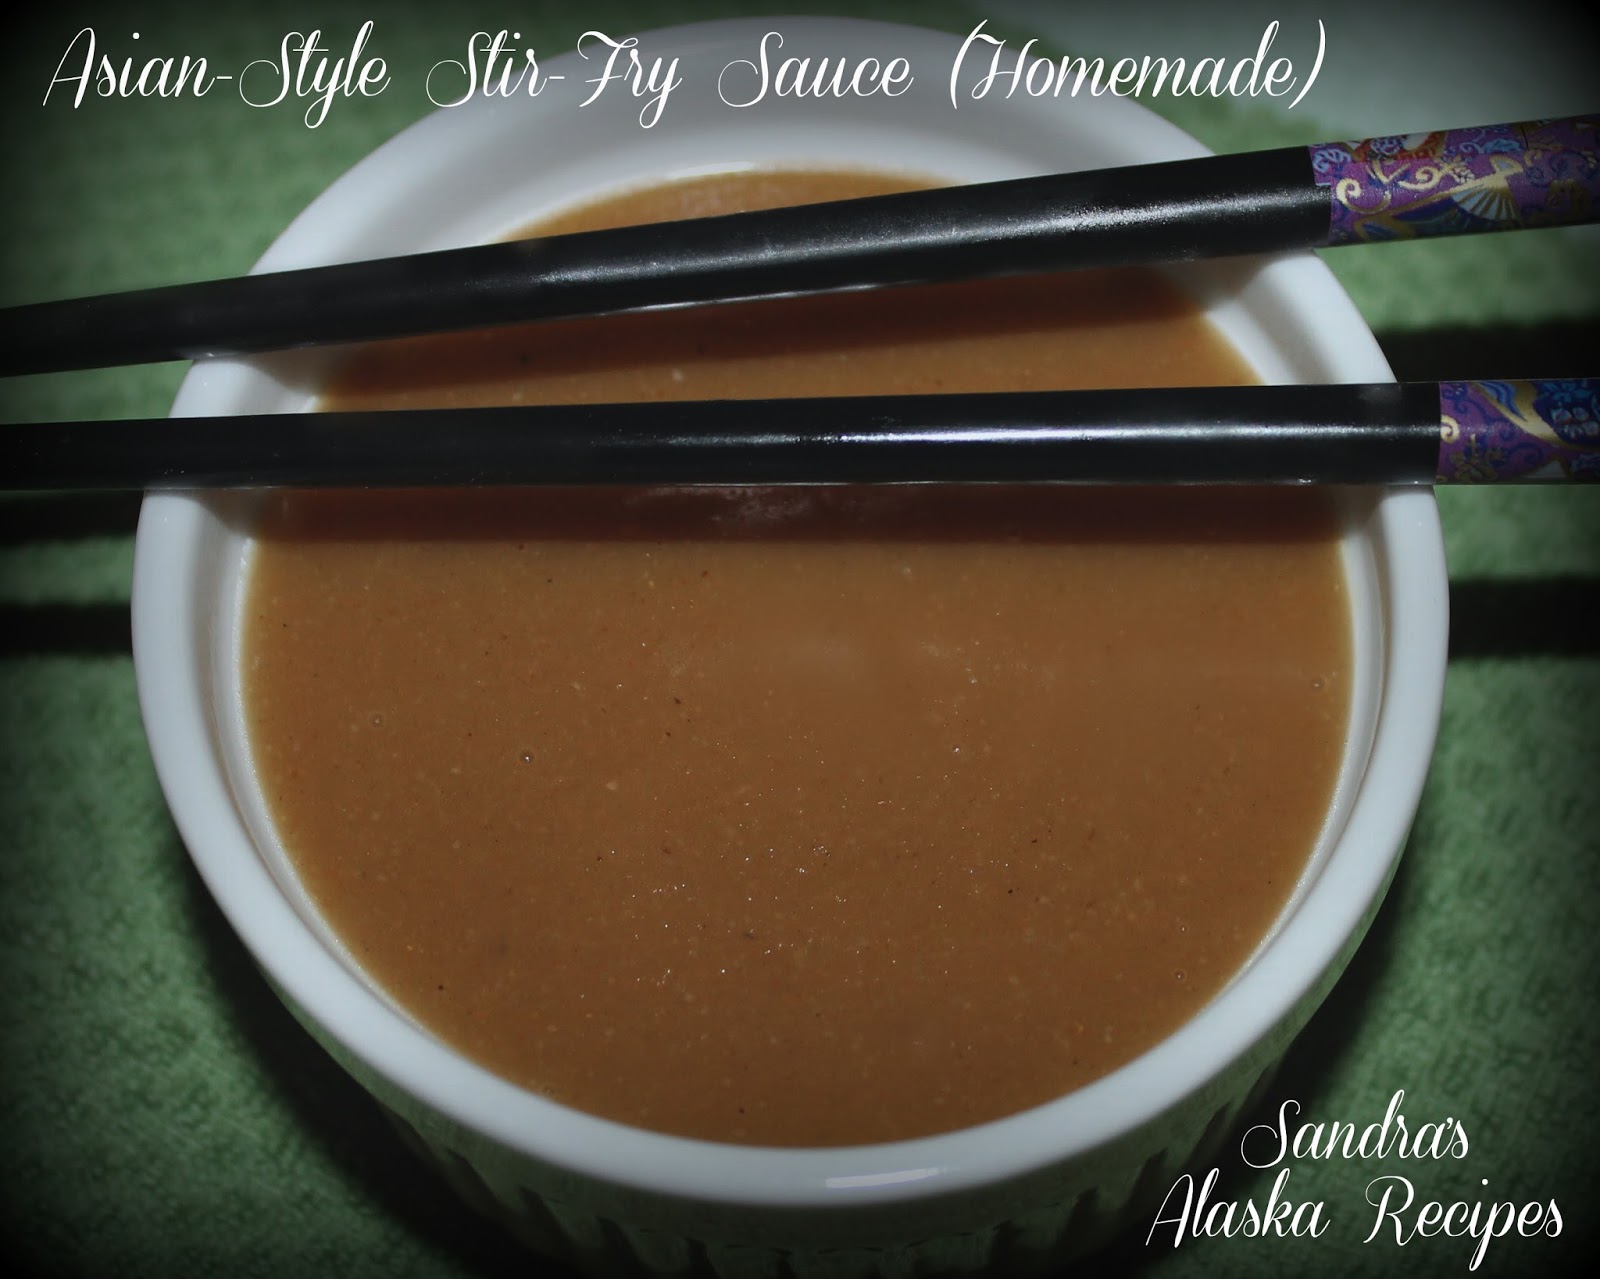
SANDRA'S ASIAN-STYLE STIR-FRY SAUCE (Homemade)

An incredibly quick and easy stir-fry sauce recipe
that pairs well combined with a variety of Asian meat, poultry, and vegetable
stir-fry main dish meals...


Prep: 10 Mins.
Cook: 5 Mins.
Yields: (Appx. ¾ Cup)

INGREDIENTS

2 tablespoons low-sodium soy sauce
1/4 cup + 2 tablespoons chicken broth
3 tablespoons rice wine
2 tablespoons honey
2 teaspoons sesame oil
Pinch of white pepper
1 tablespoon vegetable oil
2 teaspoons granulated garlic
2 teaspoons ground ginger
1 tablespoon arrowroot (or cornstarch)
2 tablespoons cold water

METHOD

In a bowl, combine soy sauce, broth, rice wine, sugar, sesame oil and white pepper.

Dissolve arrowroot in 1/4-cup cold water (slurry), and set aside nearby.

Heat all ingredients, except slurry, in a small saucepan until gently boiling.

Reduce heat to medium and cook for 1 minute. Mix the slurry (as it will tend to settle), and add to saucepan while whisking.  Cook, whisking, until the sauce boils and thickens.  Remove from heat and use this sauce with your favorite meat and/or vegetable stir-fry recipe. ~ Enjoy!

SANDRA'S RESTAURANT-STYLE JAPANESE SALAD DRESSING

For a fast and easy Japanese dressing recipe tasting super similar
to those found in top-notch Japanese restaurants ~ This one's for you!


Yields: (1-1/2 cups)
Prep: 5 Mins.

INGREDIENTS:

1/2 cup finely chopped sweet white onion
1/2 cup canola oil
2 tablespoons water
2 teaspoons ground ginger (or 2 tablespoons freshly grated)
2 tablespoons minced celery
3 tablespoons ketchup
1/4 cup low-sodium soy sauce
2 tablespoons honey
2 teaspoons freshly squeezed lemon juice
1/2 teaspoon granulated garlic
1/2 teaspoon fine-grain sea salt
1/2 teaspoon freshly ground black pepper

METHOD:

Add all ingredients in order listed in blender.  Place lid on top, and blend on high speed for a minimum of 30 seconds, until dressing is smooth. Let dressing stand a minimum of 4 hours in refrigerator for flavors to meld before serving. ~ Enjoy!

Sandra's Japanese Restaurant-Style Salad
(Click for recipe)...
~~~~~~~~~~~~
Tip: Store dressing in refrigerator in a tightly covered glass container for up to 1 week. It's also fab as a condiment on hoagie roll and grilled sandwiches...or, as a dip for veggies (quite a thin dressing, but I like it that way as it's not supposed to be thick: FYI)

SANDRA’S CREAMY SEAFOOD AIOLI

A perfect sauce to accompany
crab cakes, salmon patties, 
seafood appetizers,
pan-seared or grilled salmon,
halibut, and so on...
Prep: 5 Mins.
Yields: ½ cup

INGREDIENTS

½ cup sour cream
¼ cup mayonnaise
1 teaspoon lemon juice
¼ teaspoon old bay seasoning
¼ teaspoon sriracha (Asian hot sauce)

METHOD

In a small bowl, whisk all the ingredients. Taste, and add more sriracha sauce if you like.  Make ahead for flavors to meld, and chill leftovers in an airtight for up to 1 week.

~~~~~~~~~~~~~~
Tip:  I recently served this Seafood Aioli with:

Sandra's Luscious 
Alaska Dungeness Crab cakes 


SANDRA’S ASIAN PORK DUMPLINGS with GINGER SOY DIPPING SAUCE

These delicate dumplings
are fun to prepare,
aromatically pleasing and just
an overall exceptionally satisfying appetizer...
I decided to create a recipe for Asian dumplings because of the pork I had on-hand that needed to be prepared.  I’m so pleased that these dumplings turned out to be quite extraordinary...

Yields: (40)
Prep: 30 Mins.
Boil: 5 Mins.

INGREDIENTS

Dipping Sauce:
-(Yields: Appx. 1/2 Cup)
3 tablespoons water
2 tablespoons low-sodium soy sauce
2 tablespoons seasoned rice wine vinegar
1/8 teaspoon ground ginger
½ teaspoon sesame oil
1 teaspoon honey
1 garlic clove, minced
1/8 teaspoon red pepper flakes

Pork Dumplings:
4 uncooked boneless pork chops, cubed
½ cup shredded green cabbage
1 tablespoon chopped cilantro
2 green onions, chopped
1 garlic clove, minced
1/8 teaspoon ground ginger
1/8 teaspoon freshly ground pepper
1 tablespoon seasoned rice vinegar
1 tablespoon low-sodium soy sauce
1 package (40) ‘round’ wonton wrappers

METHOD

Whisk dipping sauce ingredients in a small glass or ceramic bowl, and set aside for flavors to meld.

Ginger Soy Dipping Sauce Recipe
For the dumplings, combine pork, cabbage, cilantro, green onions, garlic, ginger, pepper, seasoned rice vinegar, and soy sauce in the food processor.


Pulse dumpling mixture, until finely chopped and combined.


Create an assembling work space (as shown in the next photograph).  Place 1 teaspoon of filling in the center of each wrapper. Moisten the edges with water.


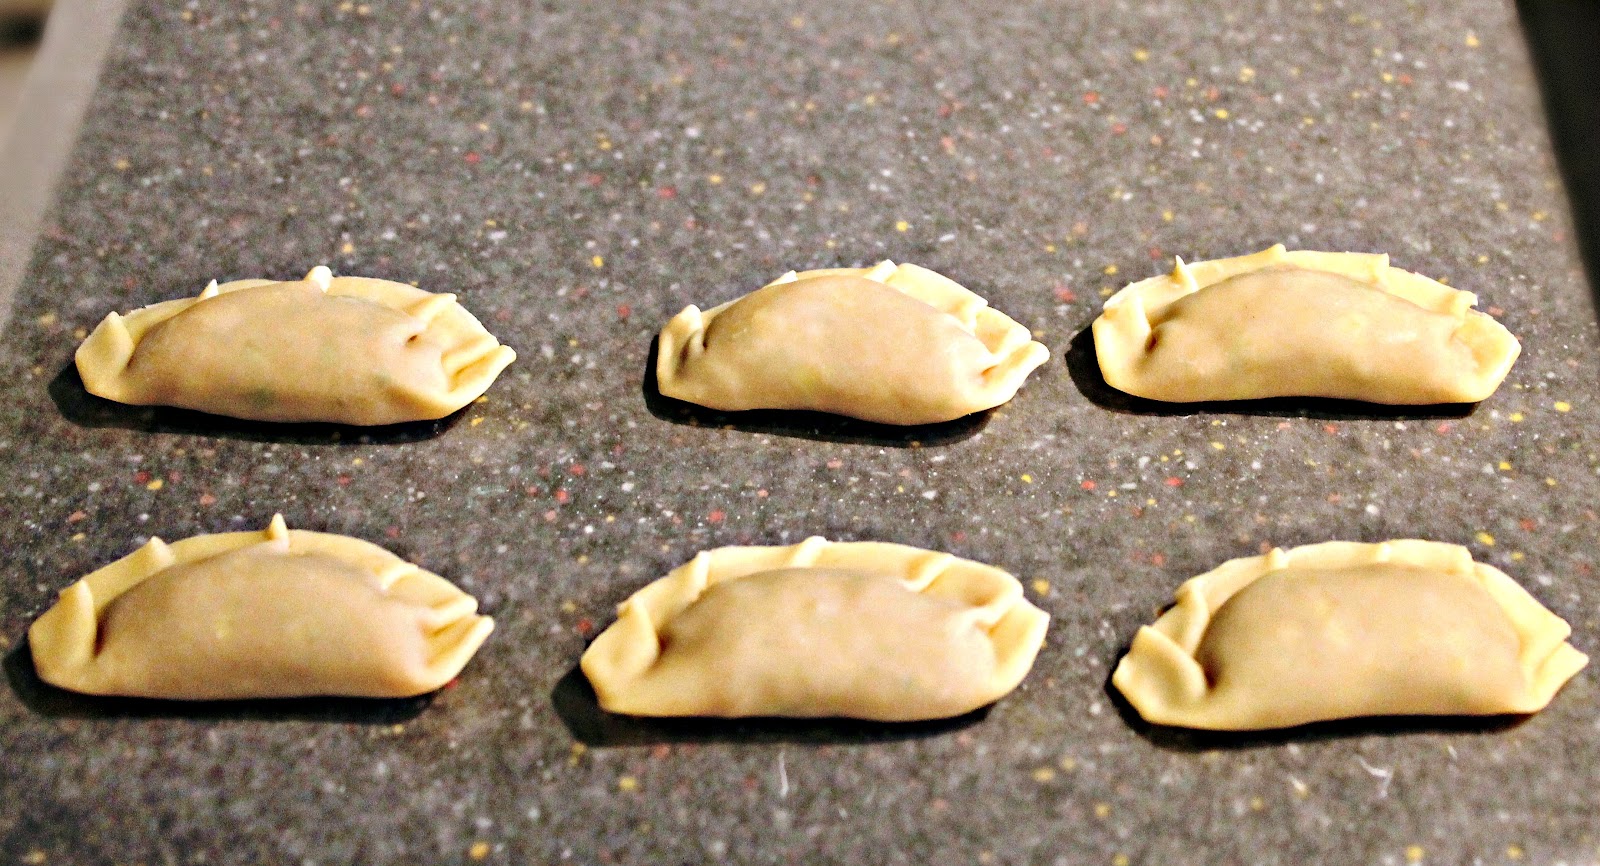
Fold the wrappers in half, then use your index finger and thumb to pinch the edges together to seal.


Gather the pinched edges together to form ruffles. Transfer dumplings to a sheet of wax paper and repeat process until all dumplings are formed.


Bring a large pot of water to a boil. Gently lower 8 dumplings at a time into water using a slotted spoon and cook for about 5 minutes, or until they float to the surface.


Carefully remove dumplings using the slotted spoon to a wire rack placed over a foil-lined baking sheet to drain, while ensuring they are not touching each other to prevent sticking together.


Serve immediately with the dipping sauce. ~ Enjoy!

~~~~~~~~~~

Tips:

--You can easily freeze the dumplings after they are formed (prior to cooking) by placing them, not touching, in a single layer on a parchment-lined baking sheet.  Freeze for several hours, and place in a labeled freezer ziploc bag.  After freezing, you boil them frozen using the same method until they float.

--You can also quickly make dumpling soup by simply cooking them in chicken or vegetable broth, then serve garnished with freshly sliced green onions.

SANDRA’S ASIAN GINGER SOY DIPPING SAUCE

A full-flavored dipping sauce
that is a 'go-to' favorite
of ours...
A vibrant and tasty Asian dipping sauce that will greatly accompany any dumpling, pot sticker, pan-seared scallops or shrimp recipe.

Yields: Appx. 1/2 Cup
Prep: 5 Mins.

INGREDIENTS

3 tablespoons water
2 tablespoons low-sodium soy sauce
2 tablespoons seasoned rice wine vinegar
1/8 teaspoon ground ginger
½ teaspoon sesame oil
1 teaspoon honey
1 garlic clove, minced
1/8 teaspoon red pepper flakes

METHOD

Whisk dipping sauce ingredients in a small glass or ceramic bowl, and serve with your favorite dumplings, pot stickers, pan-seared scallops or shrimp. ~ Enjoy!

I highly recommend serving this sauce with the following:

Sandra's Asian Pork Dumplings Recipe


SANDRA’S SPICED LEMON-HONEY REFILLABLE TEA BASE

A perfect anytime hot tea beverage 
that's heavenly during the cold months.
It's also very soothing on sore throats 
or when you feel other symptoms
of a cold or flu...
Yields: 1 cup
Prep: 5 Mins.

A very, very easy tea base to prepare in a matter of minutes that you'll enjoy for months.  I initially tried this using only lemon and honey, although I found that I prefer it more so with the addition of infusing it with a fresh slice of ginger and ground cardamom.

INGREDIENTS 
--(I used organic)

1 meyer lemon (or regular), chopped, with seeds removed
½” thick slice of fresh ginger
1/8 teaspoon ground cardamom
Honey (enough to cover mixture)

METHOD

Combine all ingredients, in order listed, in a sterilized ½-pint (1 cup) mason jar. Cover jar, and store in refrigerator for 3 days. You’ll notice that the lemons start to melt into the honey, which thins the mixture turning it into the consistency of marmalade.

To prepare, drizzle 1 teaspoon of tea base into an 8-oz. cup of hot tea; stir, and serve.  

If you prefer a hot toddy, then add a tablespoon or two of your favorite spirit (my occasional preference is rum on a cold and snowy winter night).

Refill tea base on an as-needed basis with the above ingredients, storing for up to a total of 3 months.  I also prefer to stir the tea base once in a while, which is easy to do just before adding it to a cup of tea.

This tea base would be a great gift to provide to friends and family. ~ Enjoy!

I used indoor-grown meyer lemons
from my dwarf citrus tree

SANDRA’S UNIVERSAL HONEY-DIJON DIPPING SAUCE, DRESSING, SPREAD, or MARINADE

This is a terrific spread
to use in place of traditional mayonnaise,
including all sorts of 
other imaginative applications...

Yields: 1/2 Cup
Prep: 3 Mins.

INGREDIENTS

4 tablespoons creamy dijon
4 tablespoons honey
1 teaspoon sesame seeds, toasted
1/4 teaspoon freshly grated ginger

METHOD

Toast the sesame seeds in a dry skillet over medium-low heat, just until slightly golden and fragrant.

Whisk together dijon, honey, toasted sesame seeds, and freshly grated ginger, then use to finish your creations by applying it to an assortment of meats or seafood. ~ Enjoy!

Here's a recipe using this honey-dijon as a condiment, which you might like:
~~~~~~~~~~
Tip: This honey-dijon pairs impeccably well with pork, turkey, ham, venison, beef, moose, buffalo, salmon, or seafood.


SANDRA’S BEER N’ HONEY PINEAPPLE SALSA

Another day at home
playing with ingredients in the kitchen,
and this pineapple salsa turned out
to being an absolute keeper
that I'll be serving with 
Alaska grilled halibut fillets...
Yields: 1 Cup
Prep: 15 Mins.
Marinate: 30 Minutes

INGREDIENTS

¼ cup Mexican beer 
--(I used Dos Equis)
1 tablespoon honey
1 (8 oz. can) pineapple rings, drained, and cut into small wedges
--(feel free to use fresh pineapple)
2 green onions, finely sliced 
--(use all white and green parts)
¼ cup red bell pepper, finely chopped
½ fresh jalapeno, cut lengthwise, seeds and ribs removed and finely chopped
2 tablespoons chopped fresh cilantro
--(a small handful)
1 tablespoon freshly squeezed lime juice
½ teaspoon fine-grain sea salt

METHOD

In a small non-reactive glass or ceramic bowl, whisk the beer and honey, and add the pineapple wedges; tossing to combine.  Refrigerate while preparing other ingredients for a minimum of 15 minutes.

Drain off and discard all but 2 tablespoons of marinade from bowl.  Add the green onions, red bell pepper, jalapeno, cilantro, lime juice, and sea salt; tossing all in bowl with pineapple to combine.  Refrigerate at least 30 minutes prior to serving over grilled halibut, salmon, ham, pork, or turkey. ~ Enjoy!

SANDRA’S TANGY RHUBARB-CHERRY CHUTNEY

This chutney is great with salmon, poultry,
lamb, pork, or any rich meat complemented
by the punch of a sweet and tangy condiment.
You can also serve the chutney with cream cheese
and crusty bread or crackers as an appetizer...
Yields: 2 cups
Prep: 5 Mins.
Cook: 10 Mins.

INGREDIENTS:

2 tablespoons canola oil
1 cup chopped Vidalia (sweet) onion
1 teaspoon ground allspice
1 teaspoon paprika
1/8 teaspoon cayenne (optional)
½ teaspoon ground ginger
1/2 teaspoon kosher salt
1/2 teaspoon freshly ground black pepper
1/3 cup dark brown sugar
1/4 cup water
1 lb. rhubarb stalks, sliced 1/2 inch thick (about 3 cups)
1/3 cup dried cherries
2 teaspoons red wine vinegar

METHOD:

Heat oil in a large skillet. Add the onion, allspice, paprika, cayenne (if using), ginger, salt and pepper, and cook for 3-4 minutes, just until softened.  Add rhubarb, dried cherries, brown sugar and water to the skillet, and simmer, uncovered, until the rhubarb is tender, about 5 minutes; you don’t want rhubarb to fall apart.  Remove from heat and stir in red wine vinegar. ~ Enjoy.

SANDRA’S ASIAN SWEET N’ SOUR DIPPING SAUCE

A great Sweet N’ Sour dipping sauce
for potstickers, egg rolls,
and many other Asian appetizers,
including seafood
such as scallops and shrimp...
Yields: (Appx. ½ cup)
Cook: 5 Mins.

INGREDIENTS

1/3 cup rice vinegar
4 tablespoons brown sugar
1 tablespoon ketchup
2 teaspoons low-sodium soy sauce
1 tablespoon crushed pineapple
2 teaspoons cornstarch mixed with 4 teaspoons water

METHOD

Whisk the rice vinegar, brown sugar, ketchup, soy sauce, and pineapple together and bring to a boil in a small pot over medium heat. Whisk together the cornstarch and water, add to the other ingredients in pot, and stir to thicken. ~ Enjoy!

SANDRA’S CILANTRO LIME DIPPING SAUCE or SALAD DRESSING

I created this to dip my
Crispy Halibut Taquitos in,
and found it is wonderful
as a salad dressing,
and for dipping vegetables as well...
Yields: (2-1/4 cups)
Prep: 5 Mins.

1 (1 oz. pkg.) Hidden Valley Ranch Dressing Mix
1 cup mayonnaise
1/2 cup sour cream
1/2 cup milk
1/2 tablespoon fresh lime juice
1/2 tablespoon chopped fresh cilantro
1/4 cup green salsa
Sriracha (hot sauce), to taste

Whisk all ingredients in a small bowl, and add Sriracha sauce, to taste.  Place, covered, in refrigerator to thicken and for flavors to meld for 2 hours.  Use as a dip with your favorite appetizers and vegetables, or as a dressing for salads. ~ Enjoy!

Serve this dipping sauce with:
Sandra's Crispy Halibut Taquitos

SANDRA'S 5-MINUTE SPECTACULAR HOLLANDAISE SAUCE

A classic creamy sauce that you are
able to make in a minimal amount of time
to accompany your favorite side or main dishes...
Servings: (4)
Prep: 5 mins.

Posted by Sandra

INGREDIENTS

3 egg yolks
1/4 teaspoon dijon
1 tablespoon fresh lemon juice
½ teaspoon sriracha sauce (or tabasco)
1/2 cup butter, cubed

METHOD

Place the butter in a glass measuring cup. Heat butter in the microwave for about 1 and 30 seconds, or until completely melted.

In a blender, combine the egg yolks, mustard, lemon juice and sriracha sauce. Cover, and blend for about 5 seconds. Set the blender on high speed, and remove top center, and then pour the butter into the blender mixture in a very thin stream, which will thicken the sauce. Keep the sauce warm until serving by placing the blender container in a pan of hot tap water.


~~~~~~~~~~~~~~~~~~~


Tip:  This sauce is excellent with seafood, as a dip,  for a finishing sauce, as well serving it over cooked asparagus or other vegetables; it's pure decadence!  If you prefer a yellower hue, add a bit of turmeric (it adds color without changing the flavor if added is minimal amounts).

SANDRA'S HOMEMADE STRAWBERRY-RHUBARB-BANANA JAM


This recipe was inspired by Tom Malony who told
me some time ago when I was visiting my hometown
of Yakutat, Alaska that he just made a batch...
Yields: [8, ½-pt. jars]
Prep: 15 mins. |
Cook: 20 mins.

INGREDIENTS

2 cups fresh rhubarb, chopped into small chunks
2 cup fresh strawberries, de-stemmed, hulled, and cut into small chunks
2 cups bananas, peeled and cut into small chunks
3 cups granulated sugar
1 tablespoon fresh lemon juice
1 teaspoon ground cinnamon
1 teaspoon vanilla extract
1 (3 oz. pkg.) strawberry and banana flavored jello (I use sugar-free)

METHOD

Sterilize the jars and lids in boiling water for 10 minutes; cool on a clean kitchen towel.

In a large stockpot, stir rhubarb, strawberries, bananas, and sugar while bringing to boil over medium-high heat. Reduce heat to a simmer, and continue cooking for 10 to 15 minutes while occasionally stirring, until rhubarb is tender. Remove from heat, and stir in lemon juice, cinnamon, vanilla, and dry jello mix, until dissolved.

Transfer hot jam with a ladle to sterile jars to process so you can store in pantry (versus refrigerator or freezer). Clean the rims with a damp paper towel before placing lids/rims on. Totally immerse the sealed jars of jam into a boiling water bath, and process for 10 minutes; doing so in batches if need be.  Ensure the jars seal by hearing a ping or by hearing a 'dull' tone while tapping on the lids with the end of a butter knife, and store in pantry. – Enjoy!

LinkWithin

Related Posts Plugin for WordPress, Blogger...